In this guide we explain how to build a precise Turntable in a few simple steps. It is not meant as a full guide, but should provide all information neccessary for building your own according to your preferences.
Here the list of parts shown in the picture:
1. Stepper motor
2. Motor Pulley for tooh-belt, 20 teeth, 6mm, GT2 spec
(Saipor GT2 Zahnscheibe 20 Zähne Bohrung 5mm Aluminium 6mm Breite Zahnriemen -Amazon)
3. Table Pulley for tooth-belt, 180 teeth, 6mm, GT2 spec (3D Printer)
4. GT2 Tooth-Belt (Turmberg3D GT2 geschlossener Zahnriemen - 6mm breit - Länge 450mm - Amazon)
5. Office Chair Bearing, 70x70mm, 100kg load (Pollin)
6. Plywood, screws, glue


At a first step, we glue 2 pieces of 10mm Plywood ( 10x10cm each ) onto the base Plate. This migth differ in your case because this was the height of the stepper I'm using in this case.
Then we fix the bearing onto the plywood pillar.


Place the big pulley on the bearing with the help of 4x M3 Screws. No need to permanently fix it; it's just to help marking the correct position of the Stepper motor.
For tensioning the belt, we use an axle, around we can swivel the stepper. A simple 7mm hole in the plywood and a M5 threaded rivet pressed into the hole serve as the fixing point for a piece of M5 threaded rod.


Plus a few cm of M5 threaded rod and we are done
Now, everything put together, with a 360deg Scale glued on top and a pointer, for precise evaluation and check of the stepper paramaters and movement.
You don't need to do this, because this is work we already performed, making it easy for you to use the system.
Regarding setting:
The ratio between the big pulley and the small one equals 180 / 20 = 9
A full 360 degree of the turntable would the equal 9 turns of the small pulley.
So 9 * 200 Steps = 1.800 Steps for 360° or 5 Steps for a single degree.
This assumes the stepper controller is operating in full step mode.
To permanently store this settings in the controller, we only need some GRBL commands:
ARTA_GRBL $$ lists all stored parameters
ARTA_GRBL $100=5 stores 5 steps = 1° in the controller
ARTA_GRBL $120=2 stores acceleration = 2 in the controller
For the full documentation of all GRBL commands see GRBL GitHub Pages
You can also use one of the many other resources like the GRBL Pocket Guide


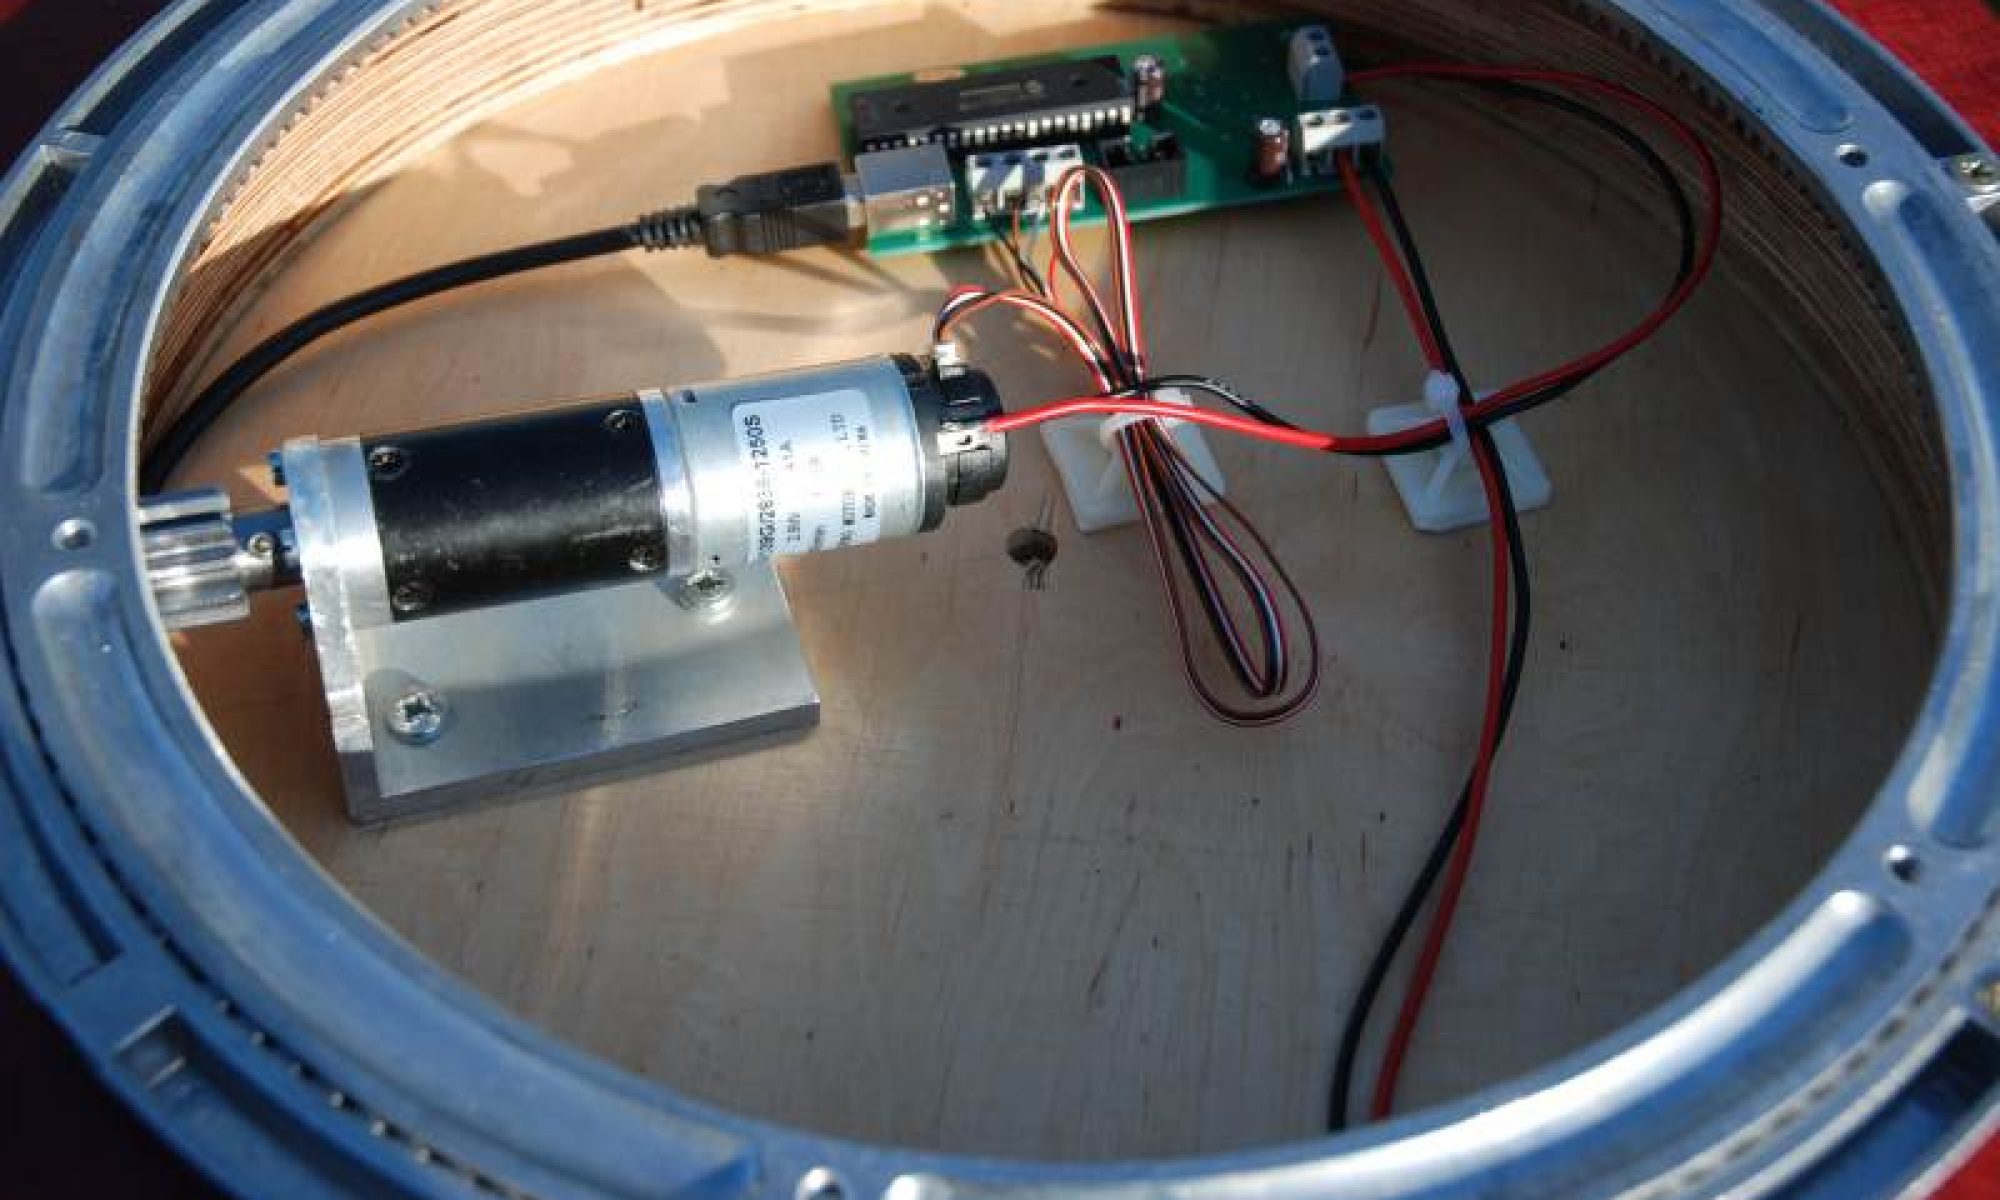
This is the heart of it all: a tiny PCB which is fully Aarduino Nano or Uno compatible. It is using an Atmel 328P processor and a CH340 USB to Serial Bridge. For driving the stepper motor there's a Pololu ready-to-use Module hooked onto the PCB.
Beside the USB connection to the PC it only needs 12V Power supply and the connection to the stepper motor. That's it.
Using the system is easy! The 180 teeth pulley and the 20 teeth motor pulley provide a 1:9 ratio, so when using full step mode of a 200 Step motor, 5 Steps of the motor equal 1 Degree of displacement of the big pulley.
This settings can be stored in the controller which can use the smart GRBL Software.
For sending commands to the module, there are several options.
1. You can use our command-line tool called ARTA_GRBL.exe
2. You can use ARTA doing the job. Just use ARTA_GRBL.exe as the Interface between ARTA and the Controller
3. You can use any GRBL software for talking to the module
After the parameters are set in the EEprom of the Controller (Explanation below), a command like ARTA_GRBL 30 drives the turntable to position 30°
Additional Information:
